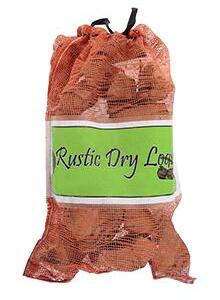
£9.50
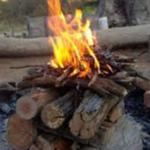
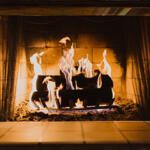
It’s a cold evening and all you want to do after a long day at work is relax with your friends, beneath the stars, in front of a cosy fire basket; logs a-crackling, flames a-flickering. There’s only one problem; the fire won’t stay lit.
So how do you build the perfect fire? One with the long-lasting flames and comforting warmth.
Many people will tell you that the best way to build a successful fire is the ‘teepee’ method – paper and kindling at the bottom and the bigger logs on top. It’s the traditional way. However, sometimes a fire built in the ‘teepee’ style struggles to burn, which means you have to keep chivvying it along simply to maintain the smallest of flames. So much for relaxing!
The answer, believe it or not, is to turn the fire on its head. Sounds crazy? Maybe, but according to camping and survival experts, building the fire upside down is an excellent way to achieve good heat and good flames.
But how do you build the upside-down fire? It couldn’t be easier.
1) Base
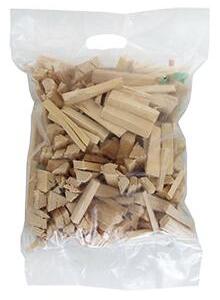
The usual top layer of logs now becomes the base layer. Put the biggest ones close together at the bottom so there are no gaps between them.
2) Middle
Lay split logs on the next layer, in the opposite direction to the ones below.
3) Top
Layer with sticks, kindling, crumpled paper, and firelighter (optional).
An upside-down fire is ‘self feeding’. It burns from the top, gradually lighting the fuel below. Therefore, it can burn by itself for several hours, which is perfect for when you want to just sit and relax with your friends as you won’t have to keep tending to it. As well as this, not only does the fire burn longer, it burns hotter. In addition, it’s a technique you can use both outside with campfires, fire pits and traditional barbecues, and inside with wood burners and open fires.
So whether you’re relaxing outside by the fire basket, building a real barbecue, or even just sitting by your fireplace, upside-down is the sure-fire way to go!